Part 3: Additional Exposure Techniques
Exposure Bracketing
When you are not certain about a recommended exposure – take several different exposures - bracket! Most cameras allow you to set up for automatic exposure bracketing: how many shots to include in the bracket (e.g., 3, 5 or 7), how large bracket steps should be (e.g., 1/3, 1/2 or full f-stops between shots in the bracket), and the sequence in which you want the bracketed shots captured (e.g., normal-dark-light, dark-normal-light, or light-normal-dark). Some cameras allow settings to make bracketed continuous shots (to shoot while you hold the release down until the bracket is completed), vs. single shot mode. Bracketing should ensure that you get at least one well exposed shot.
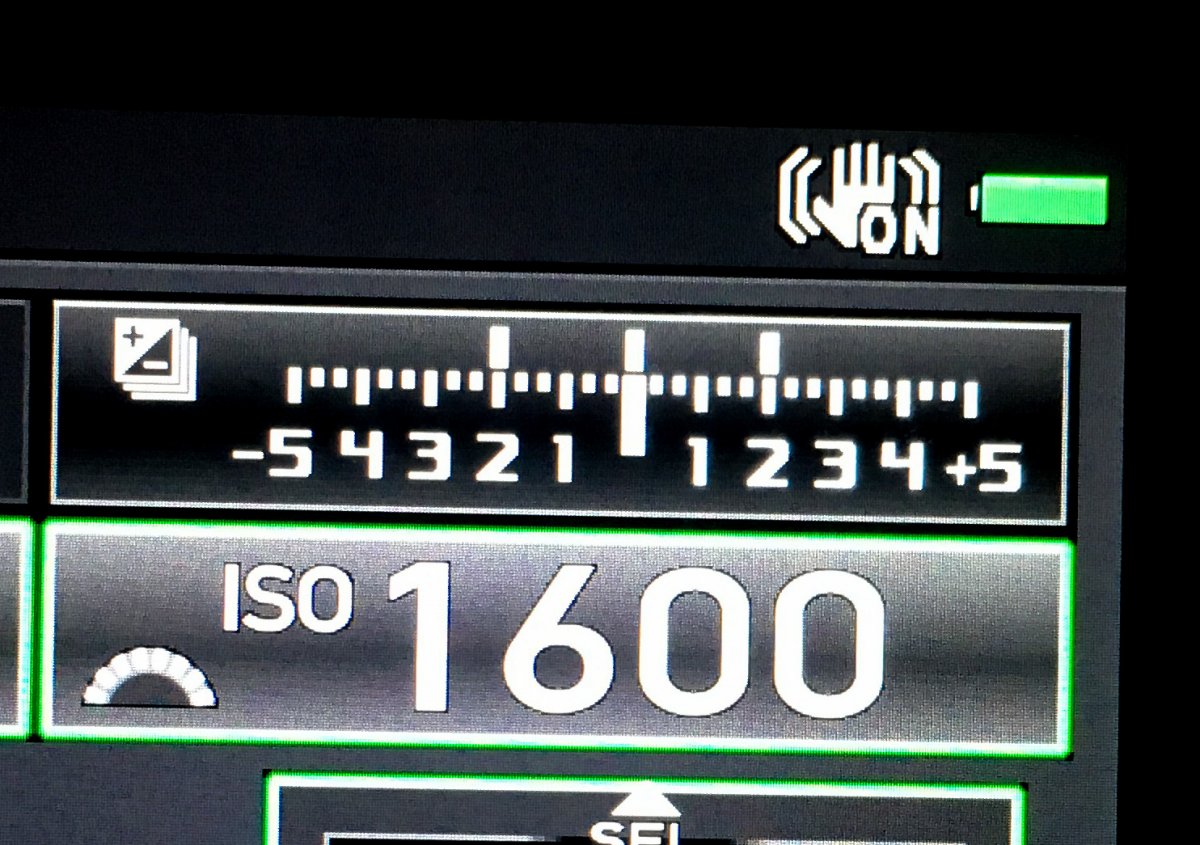
Exposure Bracket Indicator: + and – 2 stops by Jim Harrison
But there are some drawbacks. You can end up with a lot of bad exposures captured that later need be edited out and discarded. And Murphy’s Law applies - the best facial expression or best action will happen on the worst exposure! Also note that Exposure Compensation and bracketing are cumulative: e.g., a minus 2/3 f-stop compensation will be added to and applied to every shot in the bracket, probably making the darkest shots in the bracket very dark.
High Dynamic Range (HDR) Imaging
Sometimes, the range of brightness in a scene can be well beyond the limits that a digital sensor (or film) can capture. Fortunately, bracketed exposures can be combined, with the aid of HDR software, to stretch the dynamic range (difference between lightest and darkest parts of an image). Plus, many, if not most, digital cameras now have some HDR options built in. Every student of photographic exposure should get familiar and experiment with the HDR functions for their camera. Learning about dedicated HDR software will also further enhance your possibilities for expanding the dynamic range of your images.
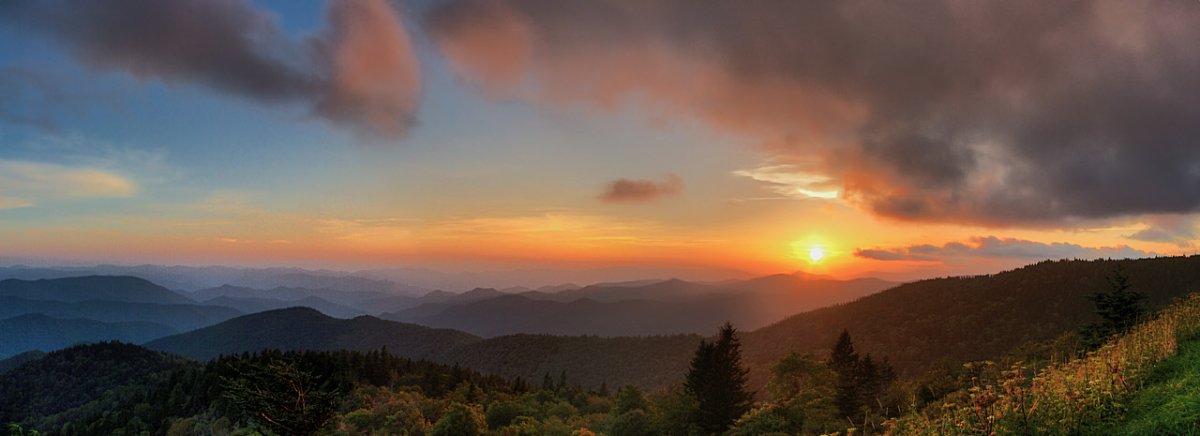
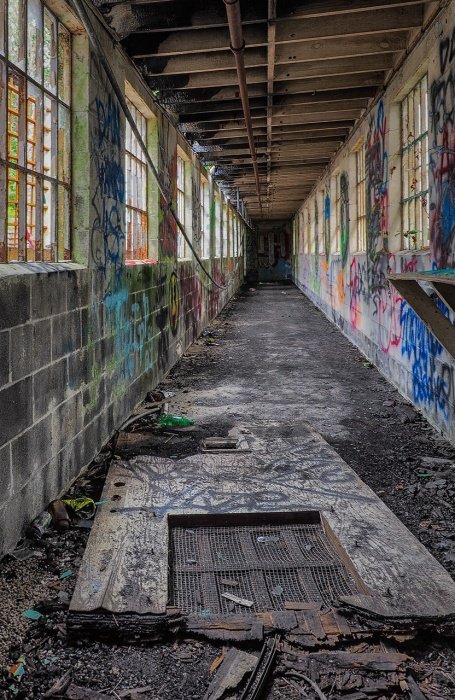
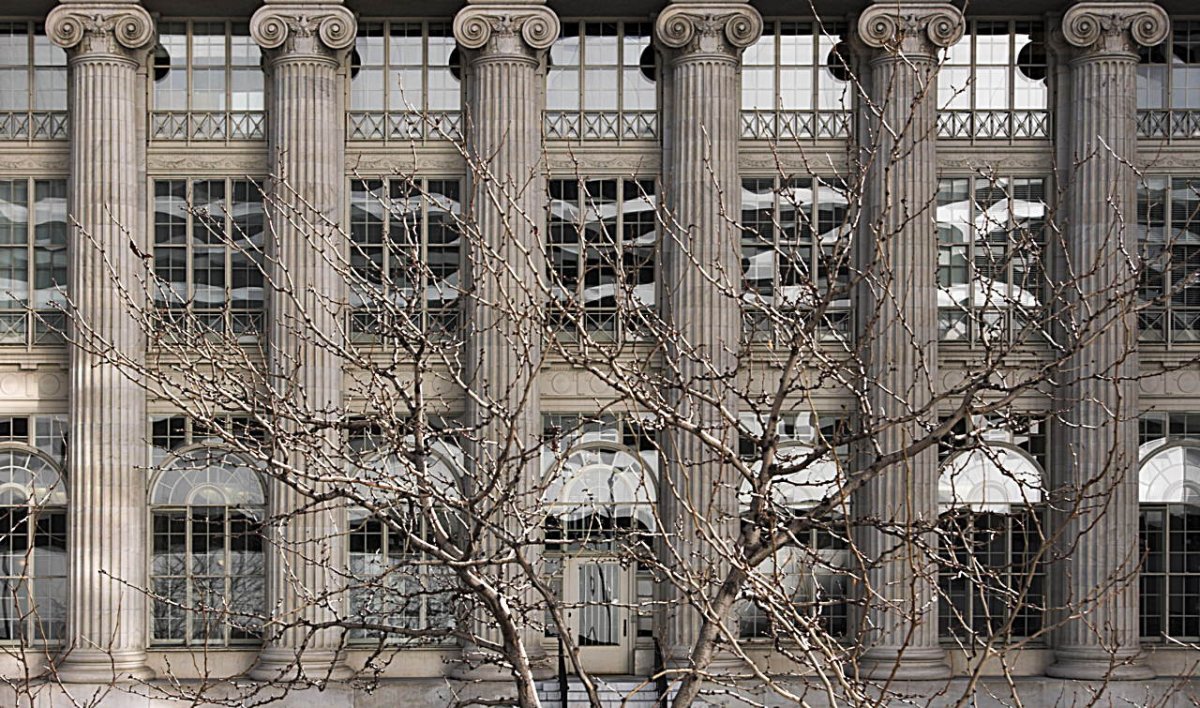
HDR example: Almost Sundown by Jim Harrison (link to talk: How the Image Was Made – Almost Sundown -- http://atlantaphotographic.org/cms-data/depot/miscdepot/How-Almost-Sundown-by-Jim-Harrison.pdf )
Checking Your Exposure
How do you validate exposure on your camera? Just look at the small image on the camera’s monitor? That’s very subjective and unscientific! Who says the monitor has the correct brightness (or color for that matter)? And all details are tiny! You can zoom-in on the preview image, but monitor resolution is rather poor, so you may not be able to see details accurately even zoomed-in all the way. What do you look at? How do you determine if the dark areas are OK or blocked-up underexposures with no detail? How about the white areas? Are they correctly exposed highlights, or hopelessly blown-out over-exposures where you can’t possibly recover highlight detail or texture?
Histograms and "blinkies" to the rescue!
Histograms
To accurately evaluate exposure, we need to go from the literal, preview depiction of the image on the monitor to an abstract representation of exposure: a graph.
The histogram is a mathematical graph. It’s called a distribution graph (technically it’s a frequency distribution graph of the full range of luminosity from black to white.) The data usually makes a “mountain” shape. The height of the display at various points along the mountain represents how many pixels there are of that brightness, and the horizontal axis represents the distribution of pixel brightness, from black on the left to white on the right. Histograms are useful on both the camera and in the computer.
Here we have a histogram of a good exposure of an average outdoor daylight scene. This histogram shows that there are few pixels on the left. Those represent blacks or deep shadows. On the right there are a few very bright white pixels, perhaps sunlit clouds or the sun itself. In the center are many, many pixels of various mid-tones. This would often be considered a “good” histogram or a “correct” exposure for an outdoor sunlit scene. The “mountain” is basically centered and extends for almost the full range of brightness.
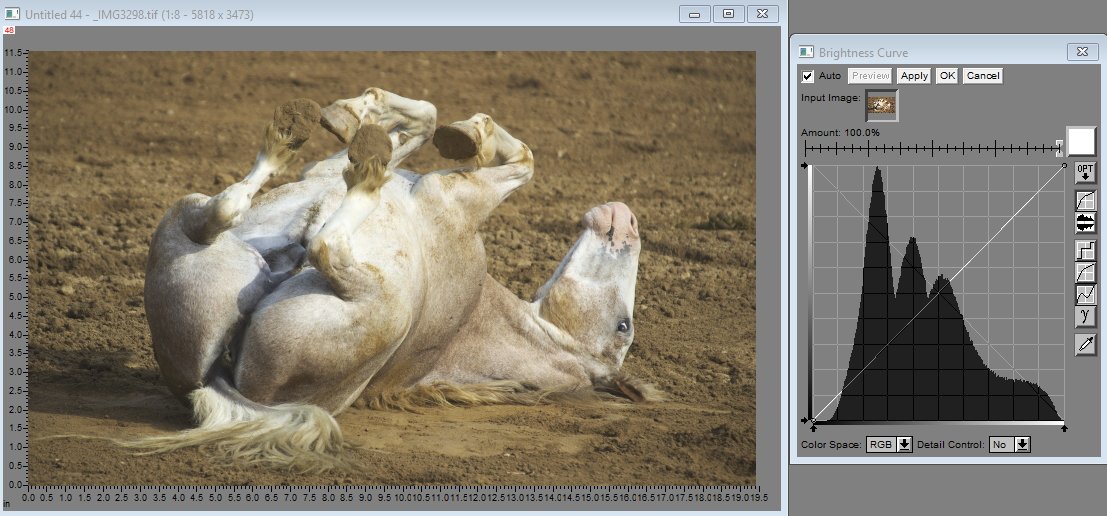
Normal Histogram - Dirt Bath by Jim Harrison
Well exposed images can have histograms that have very different shapes. There may be gaps or dips in such histograms; many peaks and valleys rather than a smooth curve. Here’s an example.
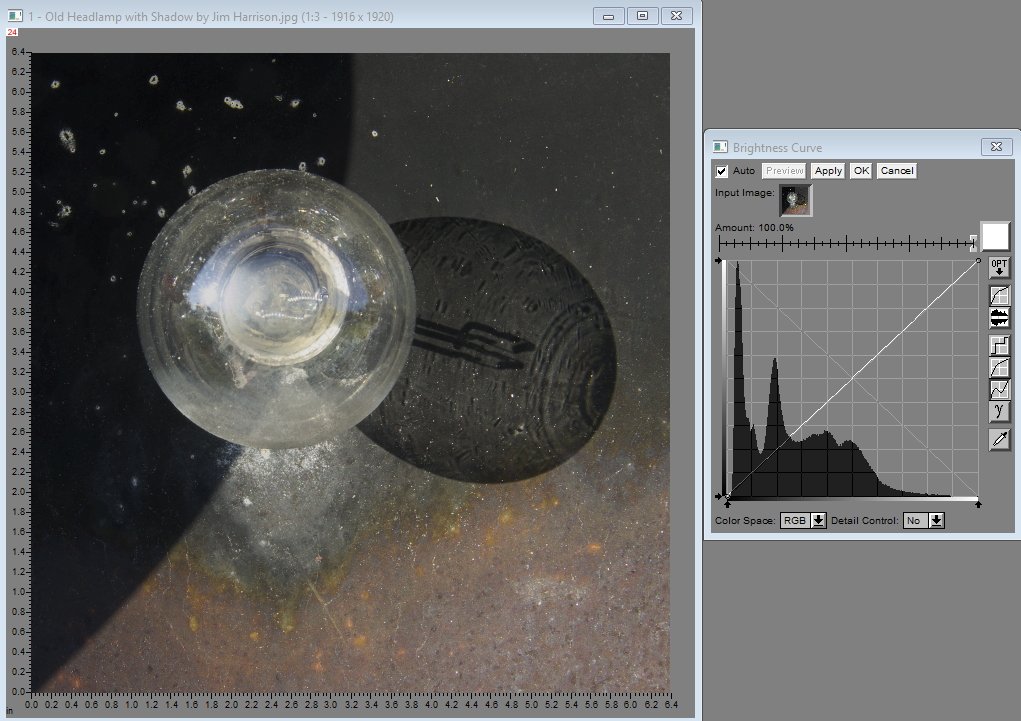
Histogram with Pronounced Peaks & Valleys - Old Head Lamp by Jim Harrison
The next histogram shows the pixel data crammed up to the left and very little data on the right. That’s severe underexposure, unless just maybe you’re trying for a silhouette. Change exposure settings or use exposure compensation adjustments to get more exposure overall, and try again.
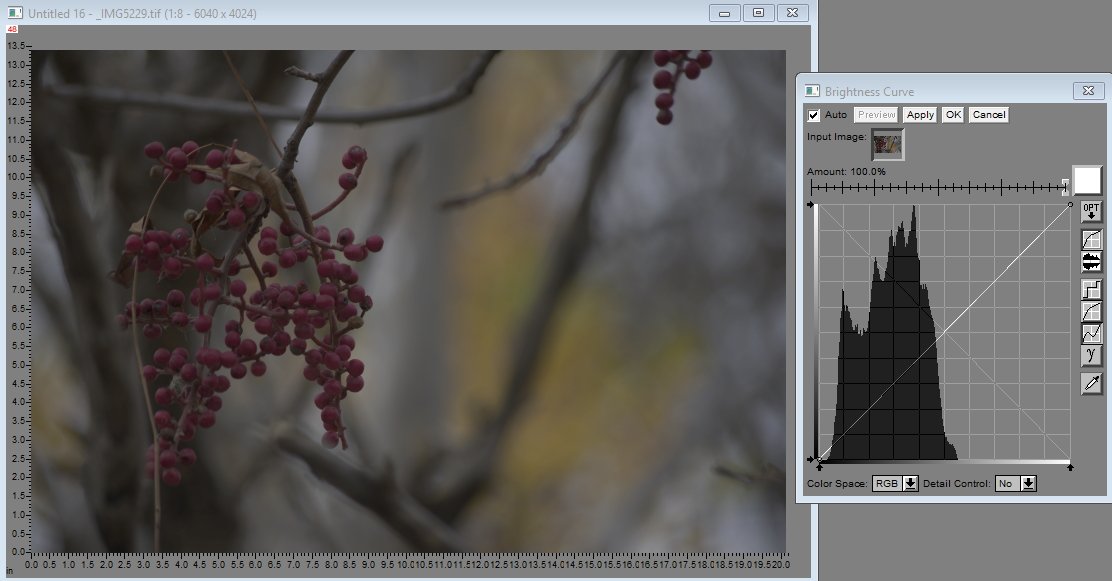
Under Exposure Histogram - Fall Berries by Jim Harrison
Next, we see a histogram of severe over- exposure. Pixels are jammed up to the right and there’s no detail in the highlight areas. Remember: there’s NOTHING you can do in the computer to recover texture and detail in blown-out highlights. Reset exposure controls or dial exposure compensation down to correct the problem and try again. You should be able to bring up a histogram on the monitor display with just a click, then click it off when finished.
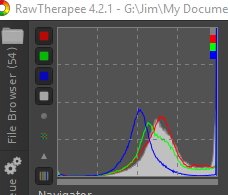
Over-Exposure Histogram by Jim Harrison
Blinkies
Another aid to judging exposures is attention-getting flashing colors or patterns on the monitor image of the just-shot image. Most digital cameras have settings to show “too bright” and “too dark” image areas on the screen. We call these “blinkies” well, because they blink! They can be flashing bright colored or white areas on the image (maybe over the clouds?) or flashing zebra stripes. This varies among camera makers, but, either way, the blinkies shout: “You’ve got blown out highlights! Or too dark areas with no detail! You are in control, so do something about it!!”
You have the option to switch these features on or off, to use them or not. They don’t flash with good exposures, when the whole brightness range of the scene is captured by the image sensor. Blinkies are like the seat belts and airbags of your camera. Always using blinkies is recommended to insure a good exposure.
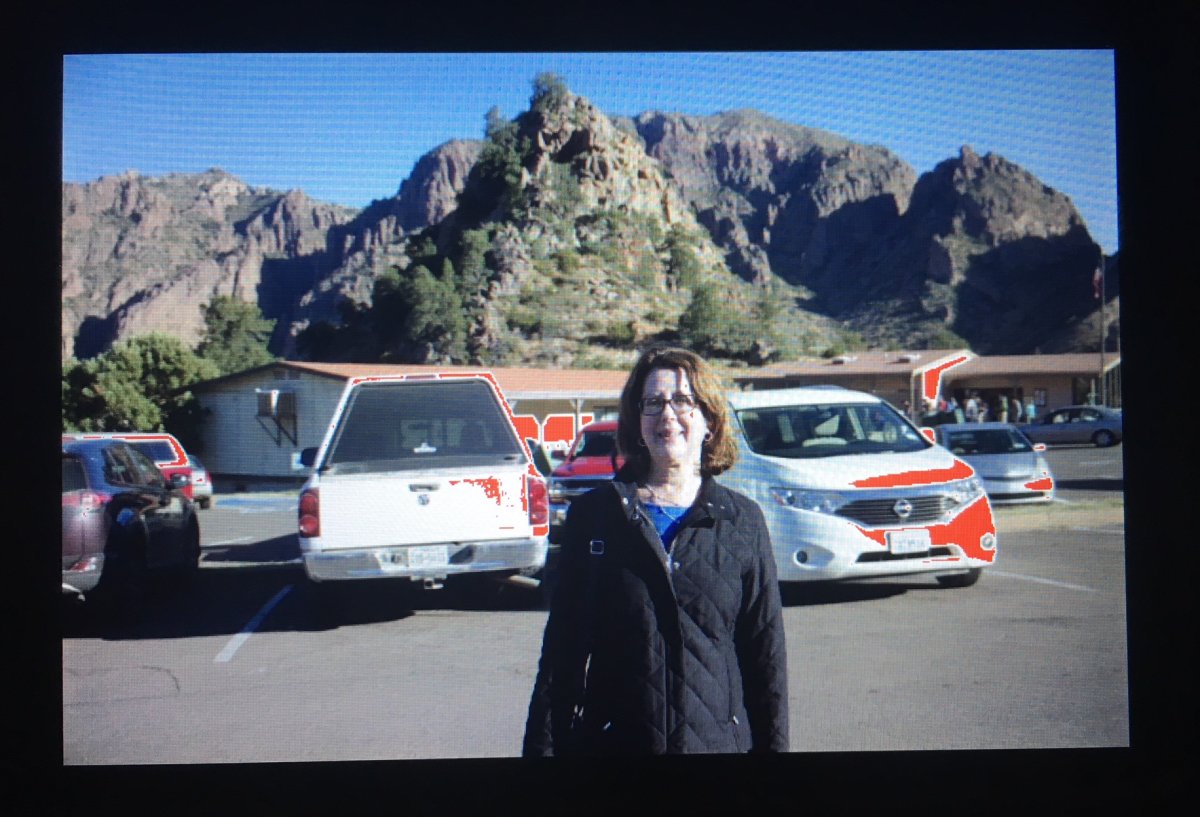
Blinkies example: Linda at Chisos Basin Lodge by Jim Harrison
Histograms (and Blinkies) in the Computer
Now let’s shift gears and talk about histograms in the computer. When adjusting images in the computer, you should consider the old guidelines from commercial printers: The darkest subject any top- quality press can print is with 95% ink coverage, and the lightest is 5%. So, no part of the image should be allowed to go beyond this 5% to 95% range, except perhaps a solid, dead black area where there’s no detail to recover, or the disc of the sun or its mirror reflection which is too bright to look at anyway.
The scale represented on the histogram is from zero to 255. That’s the range of “eight-bit color,” something I don’t want to explain here. Just trust me! Zero is pure black, and 255 is pure white (blown out). Five percent of 255 is about 13, and 95% is about 242. Your printer can’t print anything darker or lighter than those values. Anything higher than about 242 will have no ink, just bare paper - sort of a hole in your picture. That’s not to say that you’ll get good texture and detail at either extreme: 13 or 242. You won’t. You should consider those as the maximum effective range, or gamut, for images.
Shadow detail begins at about 25 or higher, and highlight detail ends by about 235. Also remember that the printed image has a smaller gamut than the additive RGB image on your computer monitor. Just because you can see something on the monitor doesn’t mean it will print. Your imaging software has a densitometer function, to allow you to read spots within the image, looking for out of gamut values. Again, we’re not talking here about shooting in the field with your camera, where you may not have time to worry much about these things - where exposure brackets or exposure compensation may save your bacon. Instead, when working “post-production” or “pre-printing” you should take enough time to do it right. Experience will help you learn your own preferences for real-world gamut values.
Some image editing software supports setting too bright and too dark blinkies at levels that you choose. That’s a very useful feature so I recommend using it to insure your printed (and on-screen) images retain necessary detail in both bright and dark areas.
Continuous Shooting
While it’s not strictly an “exposure option,” continuous shooting camera settings can be a great approach for action shots where you need to capture the “decisive” moment. You can set the camera to do continuous shooting for as long as you hold the shutter button down (without bracketing). This is often a good idea for hand-held family pictures and candid portraits (to overcome blinked eyes and goofy expressions) and for sports to help capture the peak of the action. But you’re also setting yourself up for a lot of tiresome post production culling and editing. And, the camera’s built-in flash probably won’t work because the rapid-fire continuous shooting doesn’t give the flash capacitor time to recharge between flashes.
Closing thoughts
Will this newfound exposure knowledge bring happiness? Sometimes! If you are a more advanced photographer (or wish to become one), learn all exposure options your camera offers and all the exposure techniques that will fit in your brain, so you can exercise better control of your results. As I said at the beginning, “you’re the boss!”
Now that you’ve been exposed to the basics of exposure you may decide, “To hell with all that. That’s more than I wanted to know!” Or, “That’s well and good to learn for the future, but for now I don’t want to think about all that stuff.”
If that’s you, I recommend:
Shoot in P (Program) mode.
Set ISO to 400 - 800.
Set minus 2/3 f-stop exposure compensation for sunny day outdoor shooting.
Push the shutter button and have fun!