Part One: Introduction to Exposure
The first installment of a three-part series: Introduction to Exposure, Creative Exposure, and Additional Exposure Techniques.
Introduction
Before getting into specifics, it’s important to emphasize that, as the photographer, you are the one in charge. “To thine own self be true.” The only “right” answer to any question in photography is the one that comes as close as possible to capturing the image you want. It does not matter what the “experts” prefer. Always shoot for the image that’s your vision, not someone else’s. Be conventional or unconventional. If you want a bright photo, a dark one or somewhere in between; sharp focus or fuzzy; realistic or imaginative colors, go for it. Your task is to learn enough about your camera’s controls and options, then use those controls to get the results you want.
Many of the controls on a digital camera deal with exposure, so this is a good place to begin. Hand-held exposure meters that measured the light and gave you the recommended exposure date back more than 100 years and are still used. Modern cameras have built-in exposure meters coupled to the camera’s controls, and allow manual or automatic control of exposure.
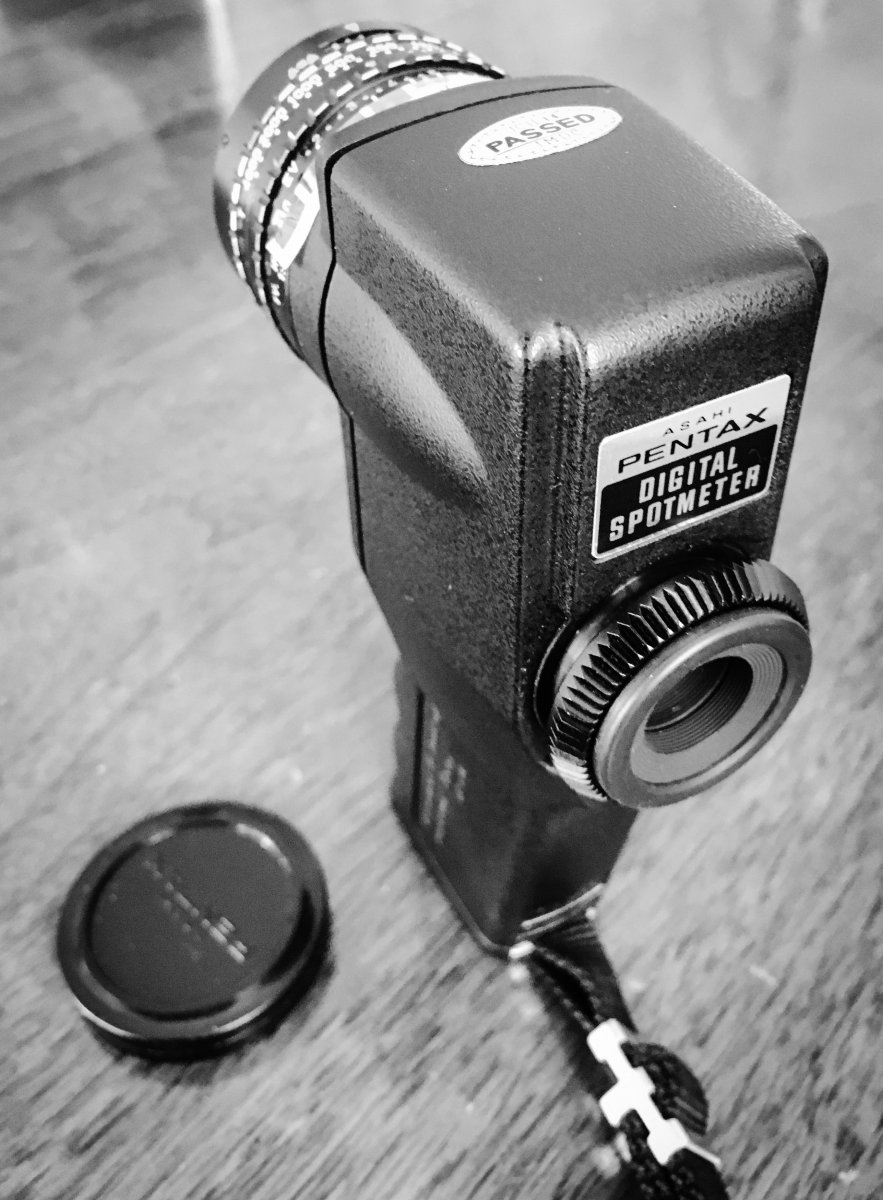
Pentax 1-Degree Spot Meter by Jim Harrison
Over and Under Exposure
If the image captured is brighter than you want, and if it can’t be corrected in your image-editing software (e.g., in Photoshop), then it is “over-exposed.” Over- exposure is most often indicated by bright areas, perhaps sunlit clouds or other whitish objects, that lack texture or detail. That’s often called “blown-out” highlights, and is the most common (and uncorrectable!) exposure error in digital photographs. If you catch it quickly on the camera’s monitor panel (where the most recent shot is temporarily displayed), and if you haven’t moved and if the subject hasn’t disappeared, reduce your exposure settings and re-shoot. (See Exposure Compensation, in Part 2, for a quick, easy way to do this. Exposure Bracketing, covered in Part 3, can also help prevent losing a good shot to blown-out highlights.) Again, blown-out (too bright) highlights cannot be fixed in the computer!
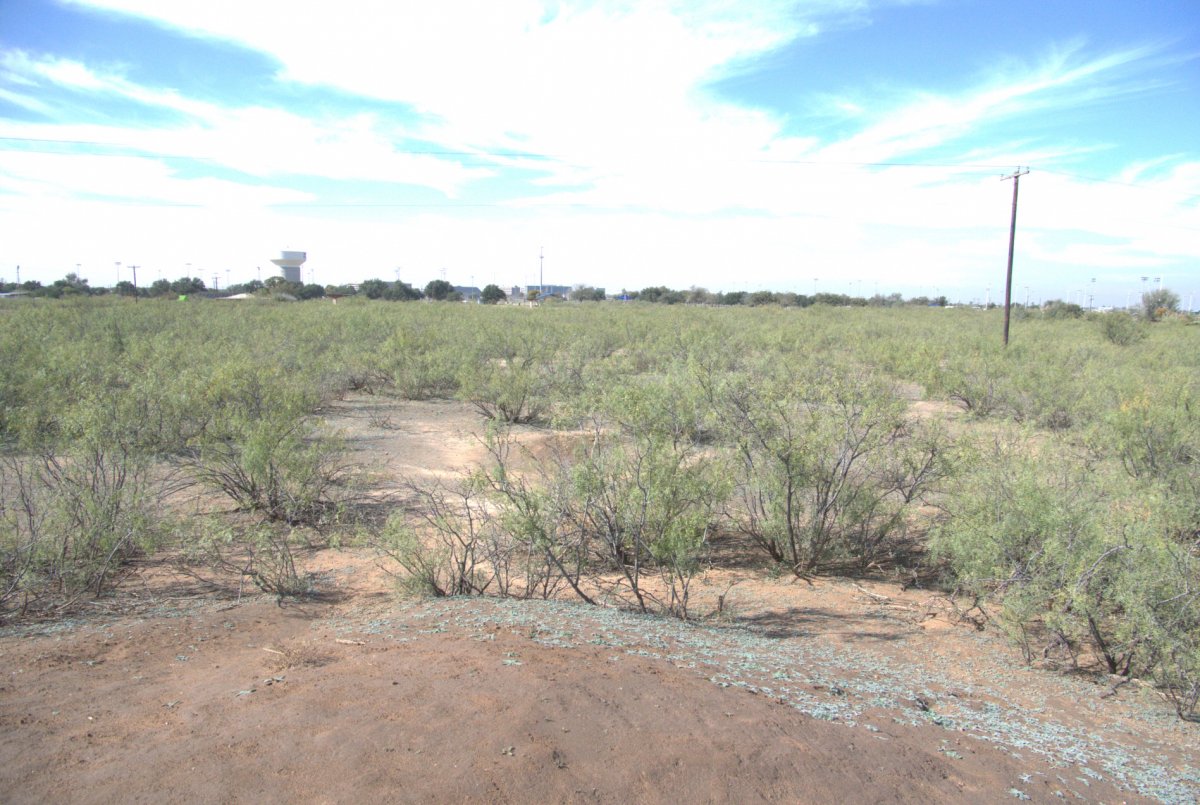
Overexposed, Midland, TX by Jim Harrison. The clouds are way too bright.
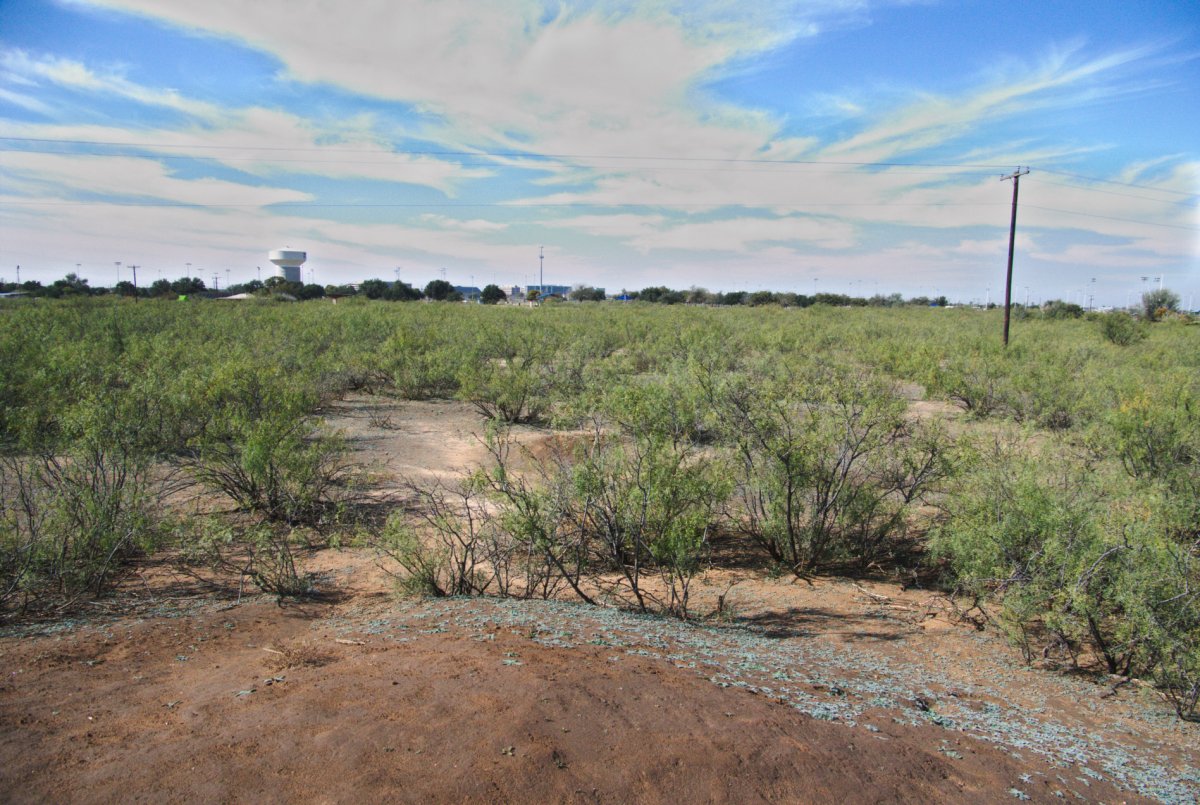
Overexposed after Processing by Jim Harrison. The overexposure cannot be corrected, even with "highlight recovery."
The opposite exposure problem is “under-exposure” which shows up as lack of texture and detail in important shadow areas of the subject, along with “muddy” color reproduction and poor contrast. Often, under-exposure can be edited and corrected in post-production (in the computer) more successfully than over-exposure. So, a little intentional under-exposure can be a good idea. (See Exposure Compensation in Part 3.)
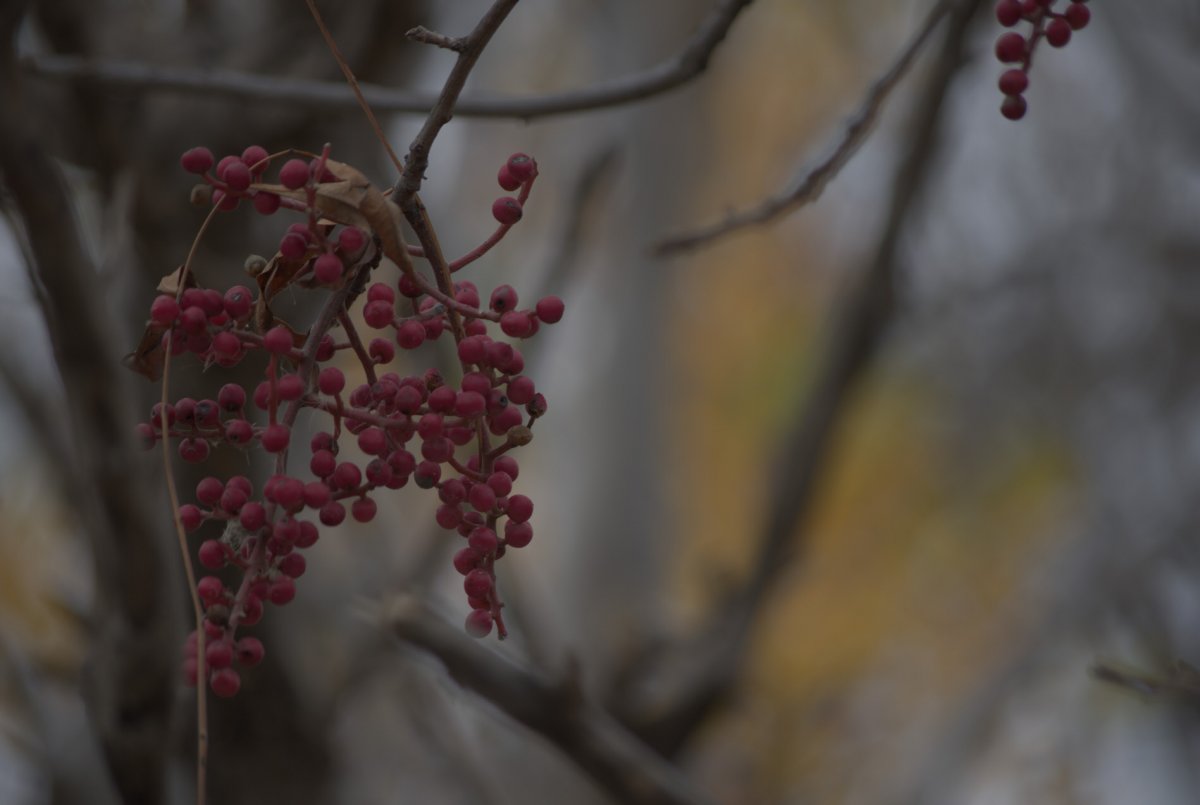 Underexposed Berries by Jim Harrison
 Underexposed Berries Corrected by Jim Harrison. Some underexposure is usually easily corrected. Moderate underexposure may also help to get nice, saturated colors.
What is Exposure?
Exposure is the accumulated amount of light captured on film or a digital sensor when you press the shutter. On film, light makes changes in molecules of silver-halides in the emulsion, creating an invisible “latent” image. Subsequent chemical development of the film makes the latent image visible and ready to use. In digital cameras, the imaging chip capturing light has been described as like “filling wells” (the individual pixel sensors on the chip), partially or fully. Each pixel sensor on the chip (and there are millions of them) changes light energy to electric voltages. That part of a digital camera is “analog!” The camera then converts the voltages to binary code that is stored on the memory card and entered into your computer.
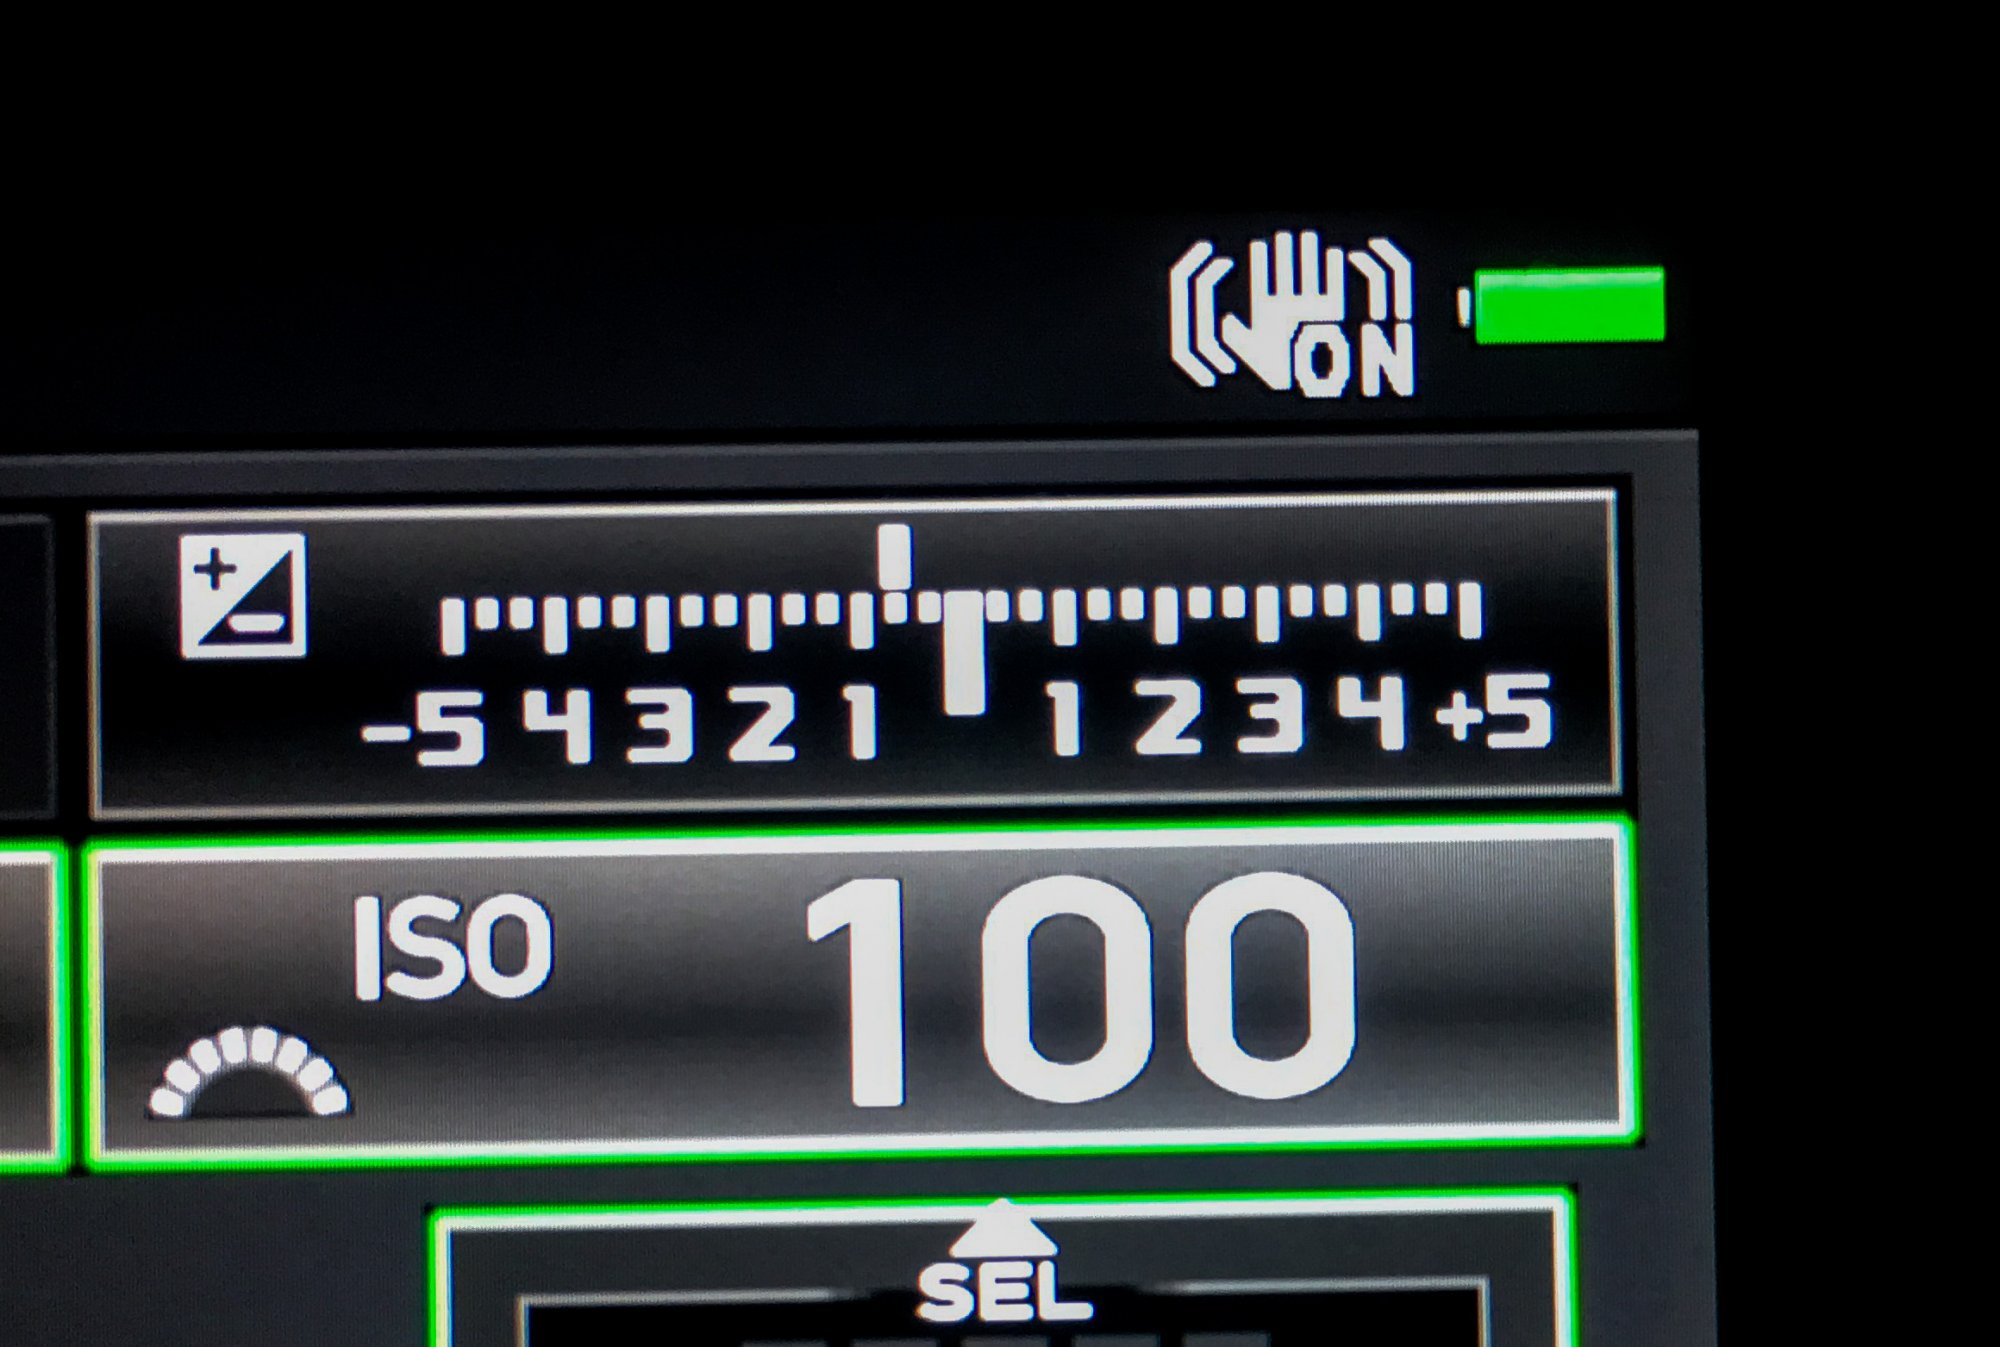
Exposure depends on three variables: BRIGHTNESS of light coming from the subject and passing through the lens (strength, intensity or luminosity of light); DURATION of light passing through the lens and shutter, and hitting the camera’s sensor, often called “shutter speed;” and the SENSITIVITY of the camera sensor to light, indicated by an “ISO” number. ISO stands for International Standards Organization.
Back in film days, this was called “film speed,” and there were no genuinely successful ways to change it. Photographers talked a lot about and often tried to get more or less “speed” from film by extending or reducing time in the developing chemistry. But that mostly changed the resulting image contrast and color. Actual ability to better capture subject detail - Not so much! Don’t believe me? Read Ansel Adams’ book “The Negative.” “Pushing” film speed was, for some reason, a little more successful with color transparency (slide) films than with B&W. So, film speed basically was whatever Kodak said it was!
With digital cameras, the ISO number can be set over a wide range, for each shooting situation or session, or even for each individual shot. Most cameras even have automatic features for ISO, but, in my opinion, those should almost never be used. For general photography, I recommend an ISO of 400 or 800. When there’s plenty of light, a lower ISO may give smoother results with less chance of showing noise.
Brightness outside the camera
Brightness (luminosity) outside the camera depends on the ambient (prevailing) light, e.g., direct sunlight, sky light, or other light sources. Time of day may be the most important external variable under the photographer’s control for outdoor photography. Photographers may increase (add to) the ambient light by adding flash or other artificial light, or by using reflectors. Ambient light may be reduced by shading the subject with translucent or opaque scrims or “gobos” (go-between shades). Obviously, external light control techniques are limited to subjects of moderate size and relatively close to the camera. Using a flash won’t have any discernible effect on scenic vistas or huge or distant subjects, for example. Same for reflectors or scrims.
Brightness inside the camera
Brightness control inside the camera is the purpose of the iris diaphragm built into the lens. The iris of your eye adjusts automatically to changes in ambient brightness, and the iris of the camera lens adjusts the aperture size (open area) of the lens to compensate for variations in brightness of light coming from the subject. On a camera, aperture may be adjusted manually or automatically. Note that the upper (brightest) end of possible aperture adjustment is limited to the characteristics of your eye and the diameter/area of the camera lens as manufactured. Thus, effects available through adjusting apertures are mostly a matter of making the image dimmer. How far irises can be opened (to brighten the image) is limited by the physical diameter of the lens. Another photographer-controlled option for darkening the image is by attaching filters to the lens – neutral density and polarizer filters for example.
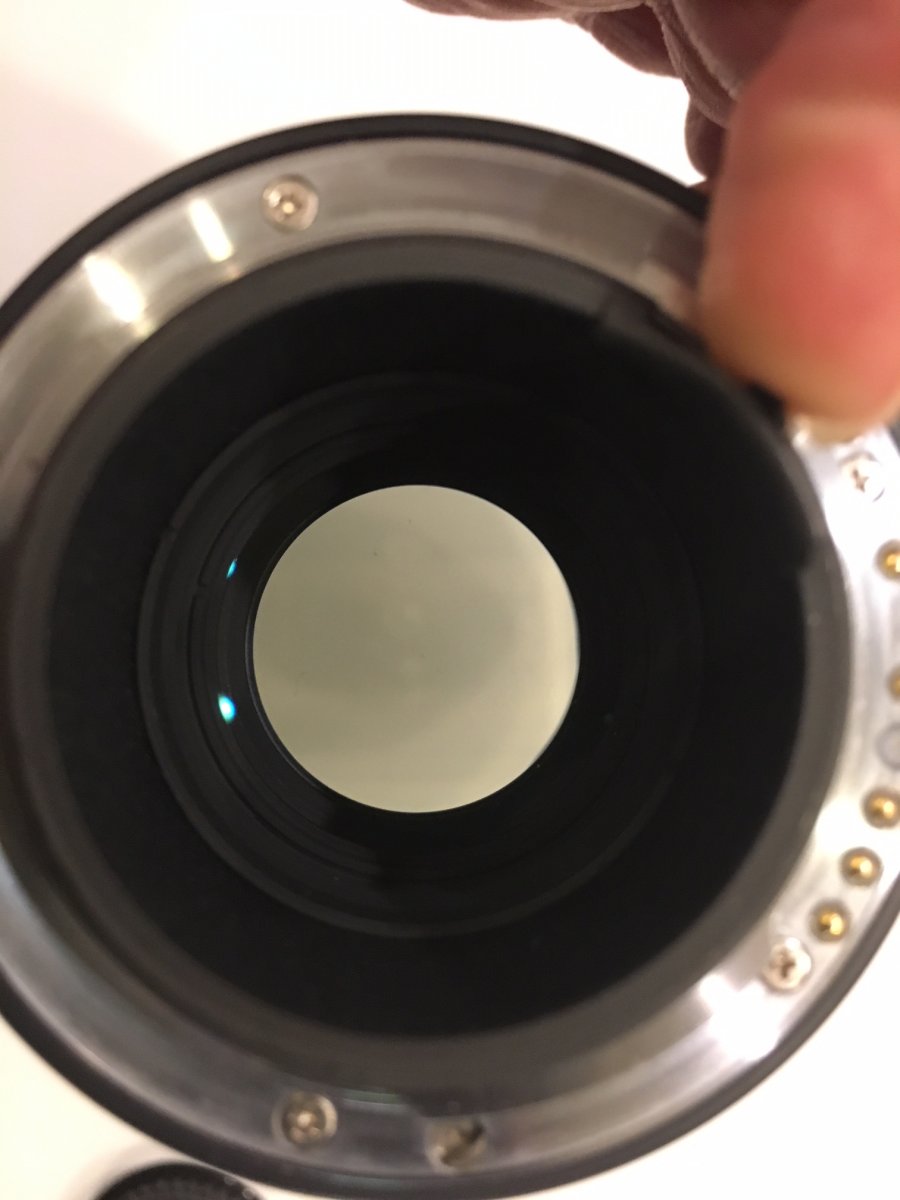
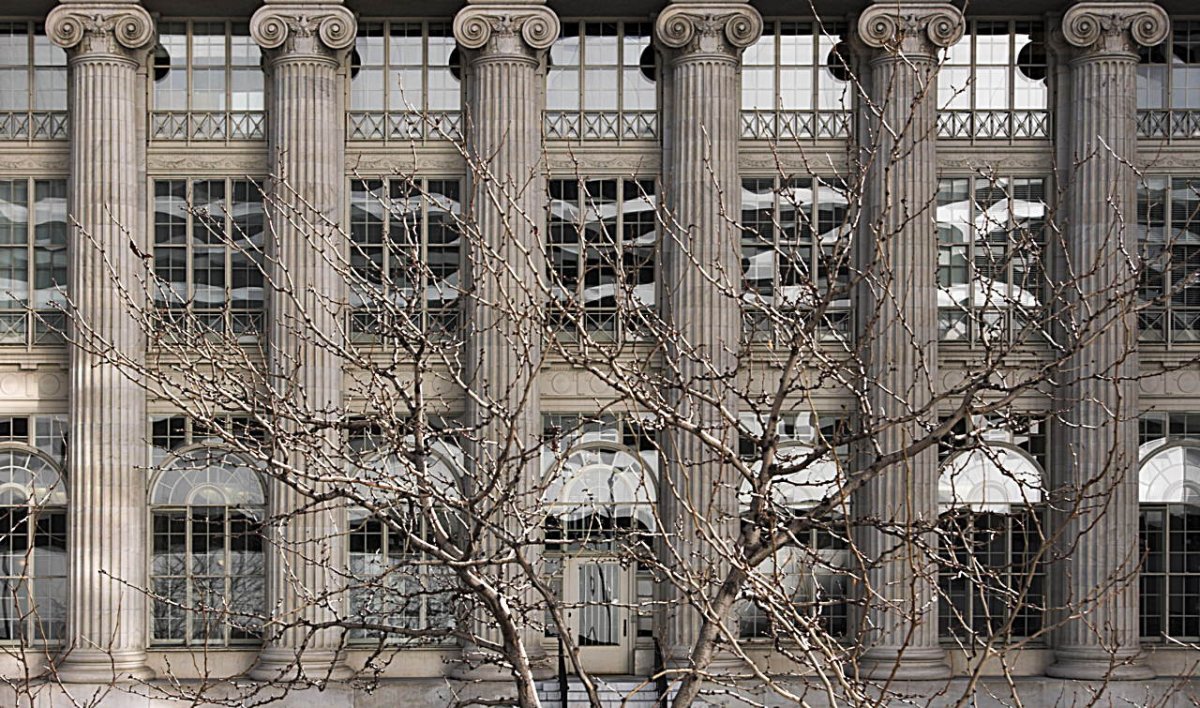
Lens Aperture (f.2.8) Wide Open by Jim Harrison
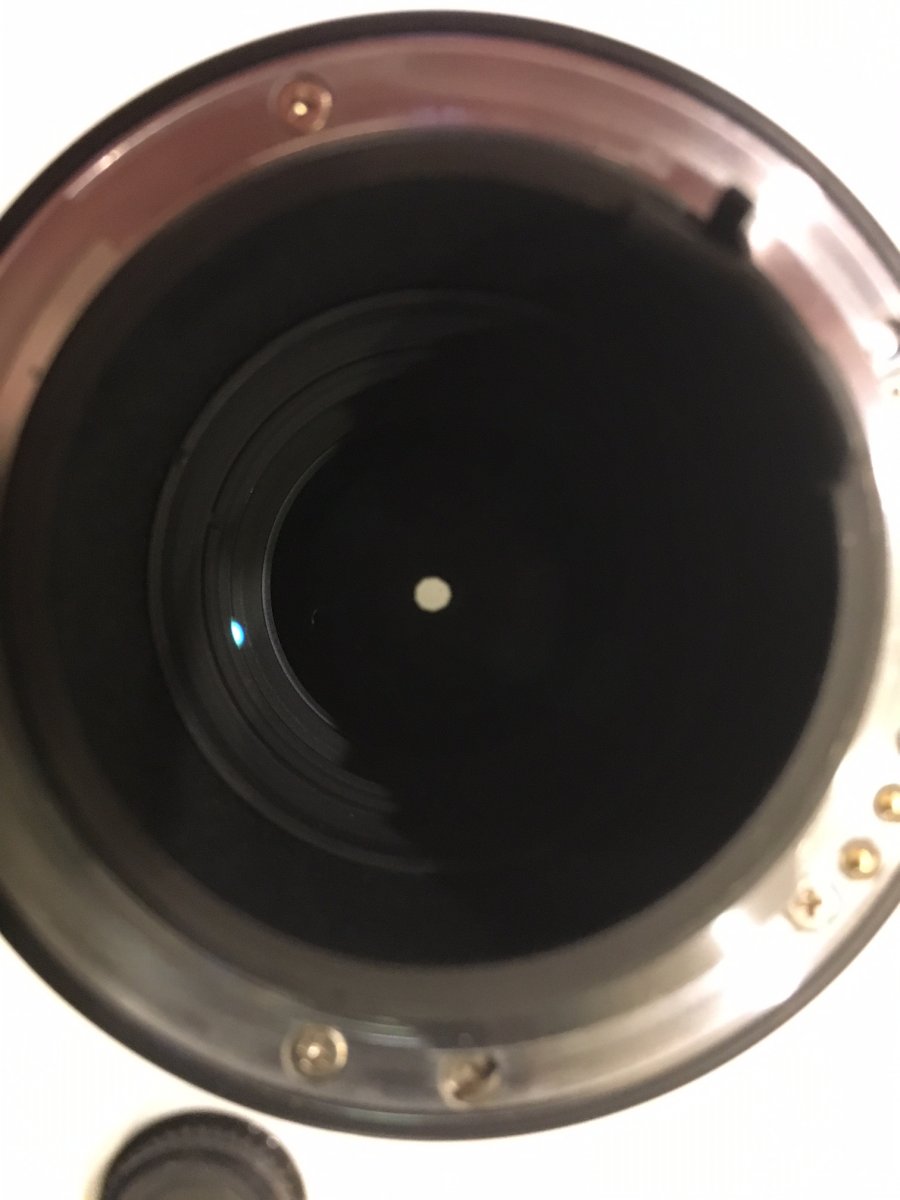
Lens Aperture (f.22) Stopped Down "All the Way" by Jim Harrison
Focal Length
Before going further, we need to define a term: focal length. Focal length is the distance, usually measured in millimeters, from the center of the lens when focused at infinity, to the film or capture chip: that is, when the center of the lens is closest to the film plane or chip. Focal length may be fixed, as with a “prime” lens, or variable with a zoom lens. Changing the lens to another with a different focal length, or adjusting a zoom lens, will have several effects, principal being changing angle of view (coverage) and thus image size at any given camera to subject distance. This is like getting closer to the subject or backing away, which sometimes is not possible. The old joke was that zoom lenses were for photographers too lazy to take a few steps to make the image larger or smaller.
F-Stops
Brightness inside the camera (brightness of the image projected from the lens onto the digital sensor) is controlled by the lens iris, and is marked in f-numbers (focal numbers), most often called “f-stops.” The f-stop is the ratio of diameter of the iris divided by the focal length (actual focal length, not equivalent focal length). Thus, f-stops are really fractions (less than one) but are expressed as whole numbers. For example, the f-stop of 4 (f.4) means that the iris diameter is 1/4th of the focal length, or f.11 indicates the diameter is 1/11th of the focal length. Since 1/4th is much larger than 1/11th, the area of the lens opening is much larger and therefore the brightness of the image at the capture chip is much brighter at f.4 than f.11. Confusing? Seems backwards? Not really, if you remember that f-stops are really fractions even though written as whole numbers.
Also note that, by convention, f-stops are expressed as “f dot number,” e.g. f.4. The “dot” in f-stops means an abbreviation for “focal ratio,” and does not imply the mathematical annotation for “tenths.” But, if there are two dots in the f-number, e.g., f.2.8 (pronounced “f two-point eight”) or f.5.6 (“f five-point six”), then the second dot does mean tenths.
Do f-stops affect image sharpness? Yes (or maybe, or a little, or it depends, or lets’ not talk about that in this blog!). That’s a good question for a more advanced treatment. Generally, the sharpest f-stop on any lens is several stops down from wide open. This is not often a problem, and can be ignored most of the time. (Note: OptimumCS-Pro is an excellent smart-phone app that will calculate the optimum/sharpest f-stop for most conditions (excluding macro shots).) See: http://www.georgedouvos.com/douvos/Intro_to_OptimumCS-Pro.html
Yes, f-stops can be confusing. To avoid all confusion just remember these things. Full f-stops include: f.1.4, 2, 2.8, 4, 5.6, 8, 11, 16 and 22 (some lenses go higher or lower). Closing down one full f-stop (e.g. – f.1.4 to f.2, or f.8 to f.11, etc.) cuts the light reaching the sensor in half. Opening up one full f-stop (ego – f.16 to f.11, or f.2 to f.1.4, etc.) doubles the light reaching the sensor.
Duration (Shutter Speed)
The next variable in exposure is duration (length of time) of light reaching the film or digital camera sensor chip. More time allows more build-up (accumulation) of image information, shorter time means less exposure. This is controlled by the camera’s shutter, a clock-work mechanical (or electronic or hybrid) device that opens the light path to the capture chip, keeps it open for a set time, then shuts it. The time the shutter is open is called “shutter speed.”
Shutter speeds are measured in fractions of seconds or whole seconds. The range of shutter speeds available is quite wide, often from very brief exposures like 1/4,000th of a second up to maybe 30 or 60 seconds (camera dependent). We’ll get to some of the subtleties of shutter speeds later. For now, concentrate on shutter speed being just one of the variables in photographic exposure. To avoid confusion, shutter speeds are typically expressed as fractions for the briefer exposures, and as whole numbers for the longer exposures. Mechanical shutters make some noise, but electronic ones do not.

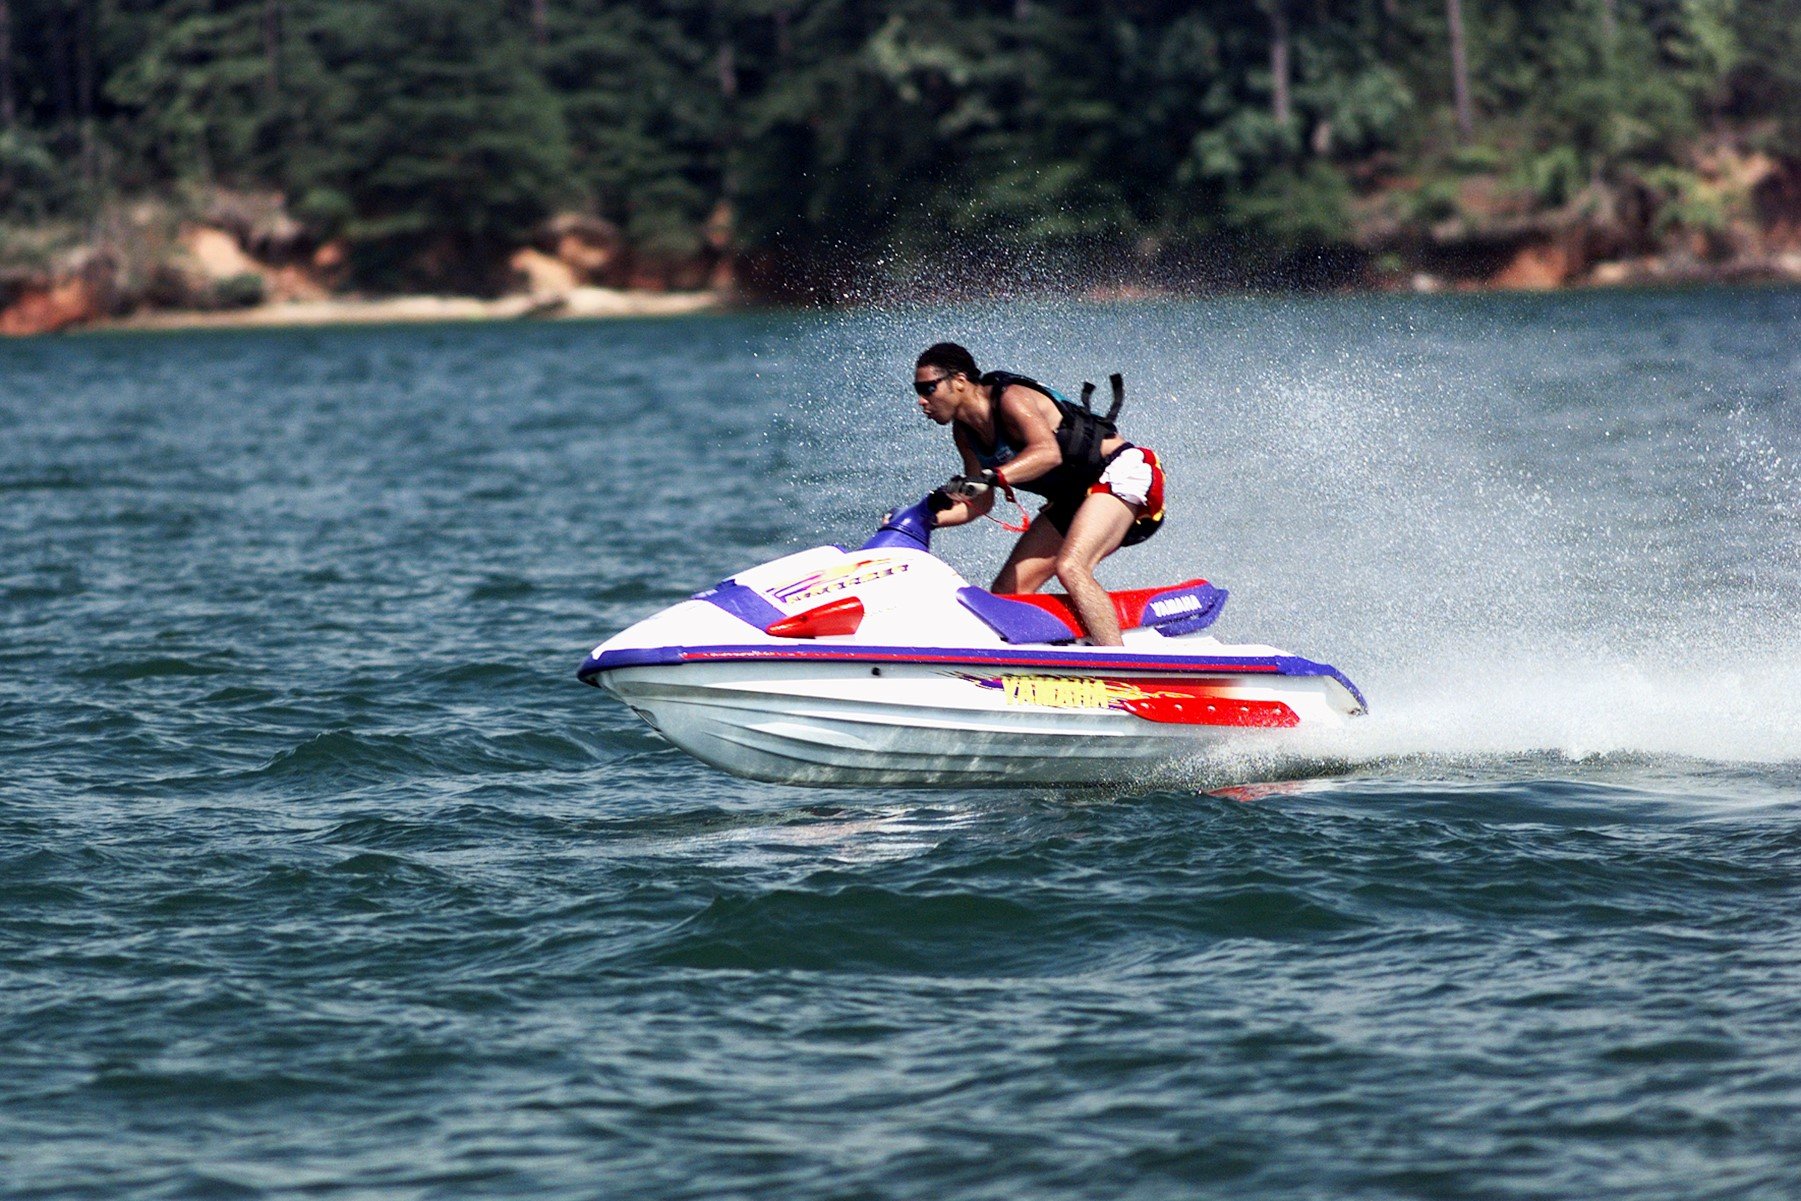
Wave Runner by Don Stephens. Stop action using a very fast shutter speed.
Next installment: Creative Exposure